
Step by Step
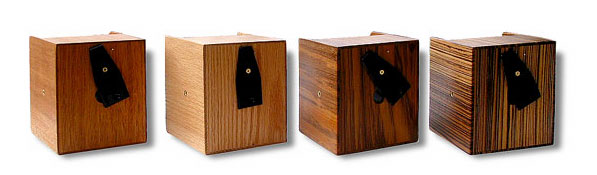
Pinhole photography is one of the oldest forms of taking photos. The pinhole camera should be lightproof, so in order to take a photo you need to open the flap. Then the light sensitive paper inside the camera is exposed to the light outside, the element you have exposed the paper to is what will appear when the photo is developed in the darkroom. You will end up with a negative, which you will have to invert on Photoshop to present the finalised photo.
- To enter the darkroom you must open one door and close it before opening the next, this prevents light from damaging any photos being developed inside.
- If you are developing photos in colour, then the darkroom shouldn't have any lights on whatsoever, however if you are developing photos in black and white, the darkroom must be lit up with a red light.
- First you must take the light sensitive paper out of the pinhole camera, then put the photo in the developer tray, make sure it is completely submerged in the chemicals. leave it in the developer for 2 minutes.
- With tongs, take the photo out of the developer and put it into the stop for 10 seconds. The stop prevents the photo from developing further.
- Again, use the tongs to put the photo in the fix for 2 minutes and finally put the photo in the wash, to remove the chemicals from the photo.
- Hang the photo up to dry and the darkroom process is finished.
|
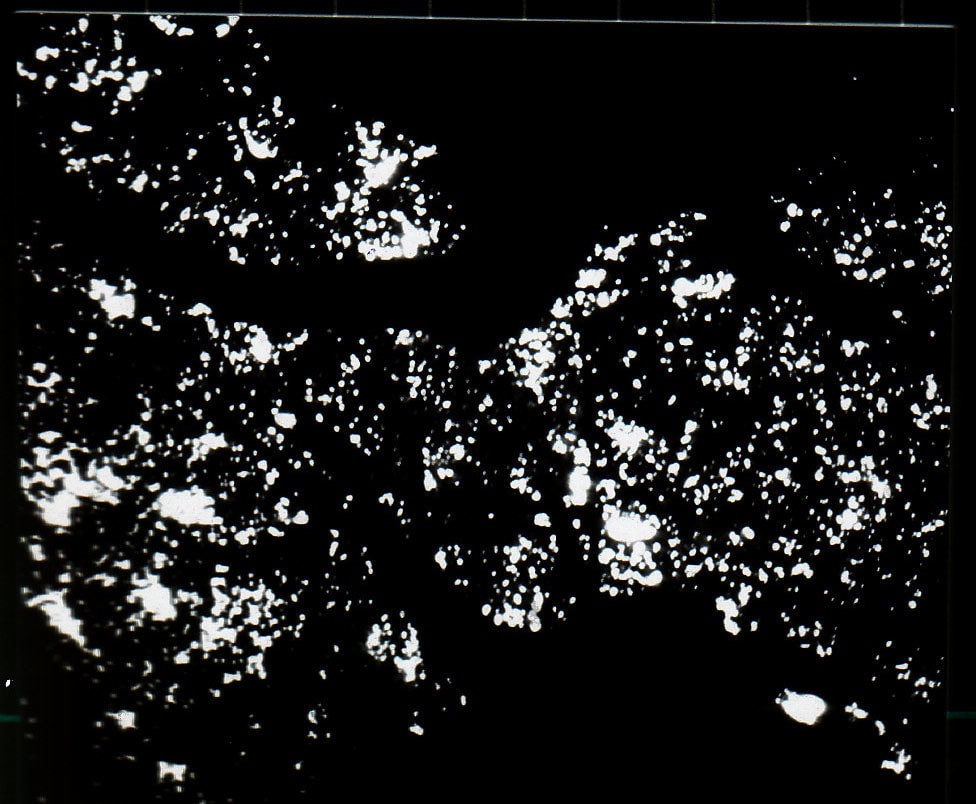
Negatives
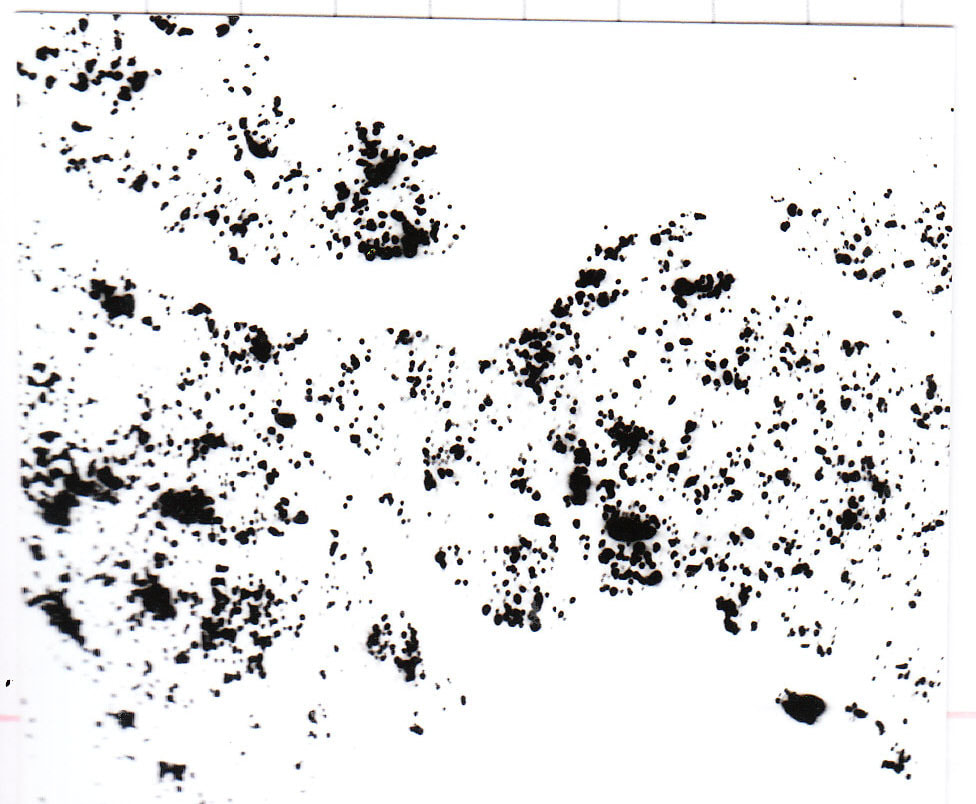
|
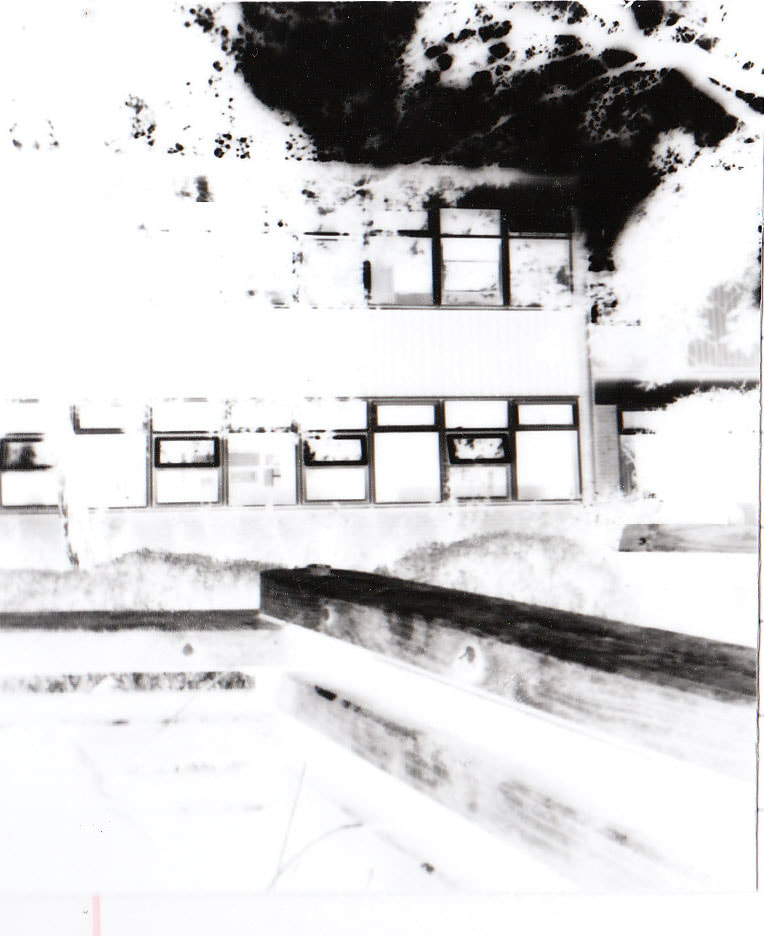
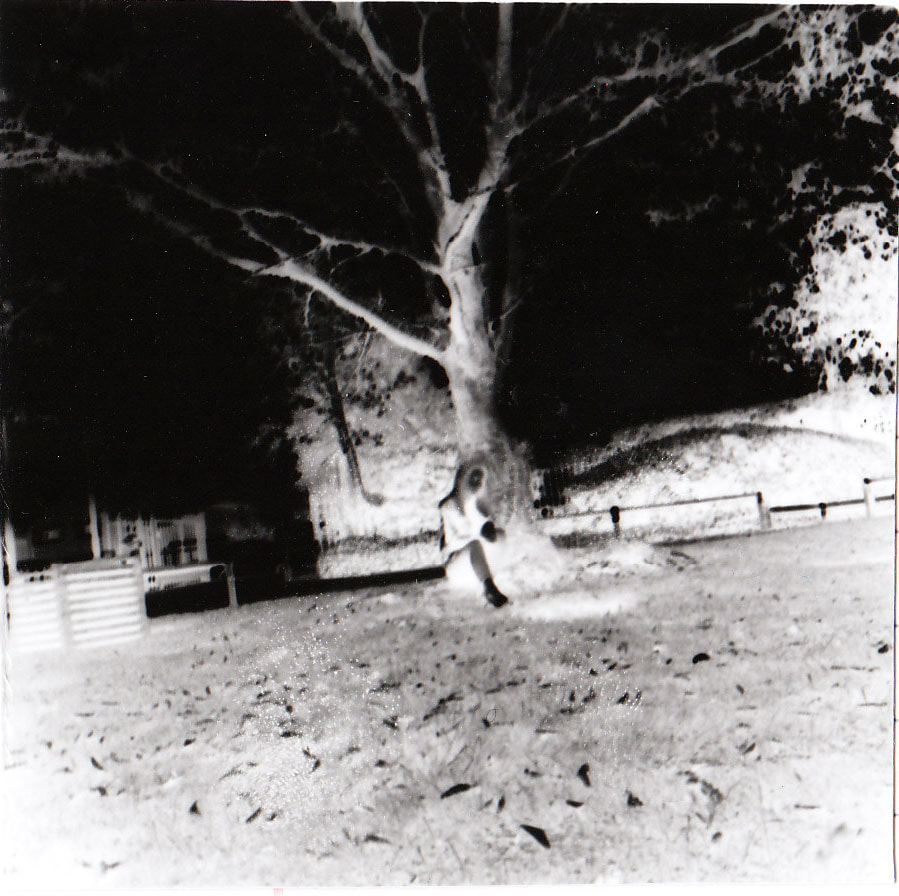
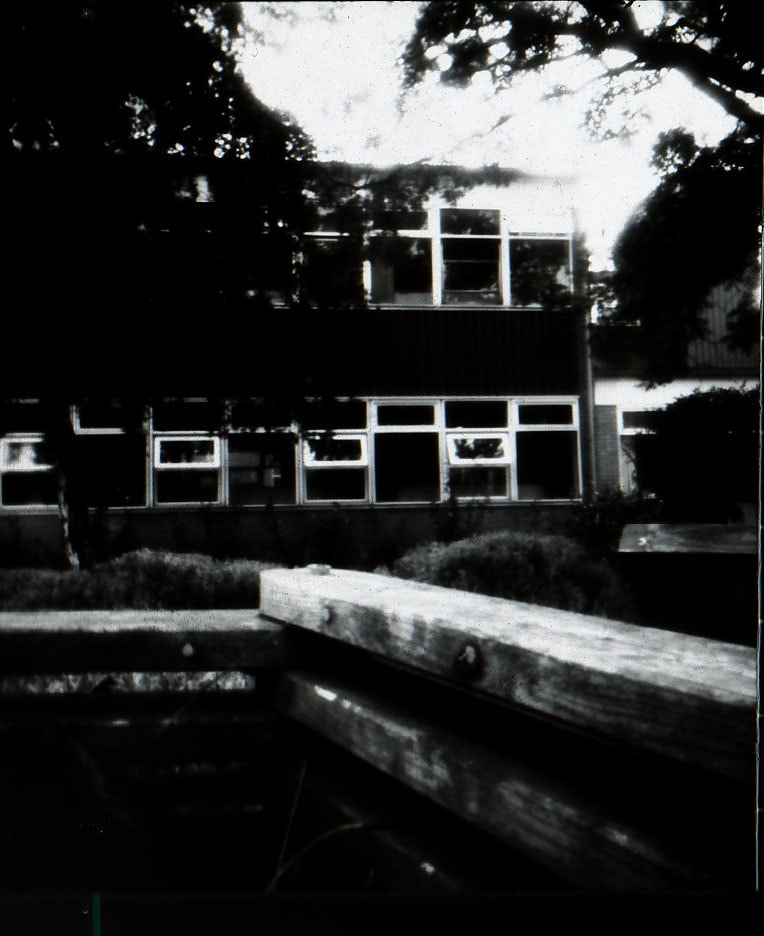
Positives

|
Pinhole photography is not my strength, but I enjoy the process of making the photo in the darkroom and seeing the finished result. I need to be more aware of the timings in different lights so I can get the best outcome.
